Use the Online Course page to create and publish your online courses
You can showcase your courses, provide details about what students will learn, and share all the important information.
In this guide, you will learn how to create an online course, edit its content and pricing, Control how your users access the course, and more.
In the Website Editor, click Pages.
Find the Online Courses in the current page list, or add it as a new page.
Edit the page Title and Slogan. Read more about Adding a Slogan.
In this section, you will learn how to add, remove, and manage the items on your Online Course page.
Click the Edit button.
Click the Arrows icon and drag to reposition an item in the list.
Click the Three dots icon to Edit, Duplicate, Preview, or Delete an item.
Click the Add New Course button and edit course settings and information:
Name - Add the course name.
Description - Add a short description of the course subject and content.
Add Category - Add the new course to an existing category or create a new one by clicking the Add New Category button. Categories will allow you to divide your courses into subjects. The new category will be visible beneath the page title. Note that deleting a category will delete the items in it as well.
Images
To add an image, click the Choose Image. You can upload an image from your computer, Choose one from the Image Library, or import one from an external service such as Facebook and more. (size limit 50MB)
Access Type (free or paid) - Set the access to your course. You can allow users to access only after payment has been made, Access that only requires a user to sign up, or Free access to all users.
Price - Set the price rate for your course
On Sale - Toggle this option on to add a sale price for the course.
Add sections to your course. These sections will allow you to divide the course into parts in accordance with your course syllabus. Each section can hold multiple lessons.
Section Name - Add the section name or short description (up to 250 characters )
Add a new section by clicking the Add section button.
Click Edit to add lesson details:
Name - Add the lesson name
Description - Add the lesson description
Preview Lesson - Enable the option to allow users to view the selected lesson without having to purchase the full course.
Video Type - Select the type of the added course media, use a video from Youtube or Vimeo, or choose the custom option to upload a video from your computer or an external service such as Google Drive, Facebook, and more. Alternatively, you can select Audio to add an Audio-only file from your computer.
👉 Note: - The maximum size of the uploaded files is determined by the type of package you own. Check out the maximum file size limitations for each package below:
Basic Package: 500MB
Advanced Package: 1GB
Professional Package: 2GB
Gold Package: 3GB
Platinum Package: 5GB
Create a Registration Form for visitors to fill out when registering for a course.
Use the custom form builder to customize the form to best suit your needs
Read more about the Custom Form Builder Tool.
Adjust the SEO settings of your different services. Read more about Custom SEO.
Under the settings tab, edit your payment method and Tax, as well as edit the course custom labels and course options, such as the abandon cart tool.
Inside the Payment Methods tab, set your accepted currency and payment methods. Read about setting Currency and Payment Methods.
Inside the Tax tab, add regions and tax. Read about setting Tax.
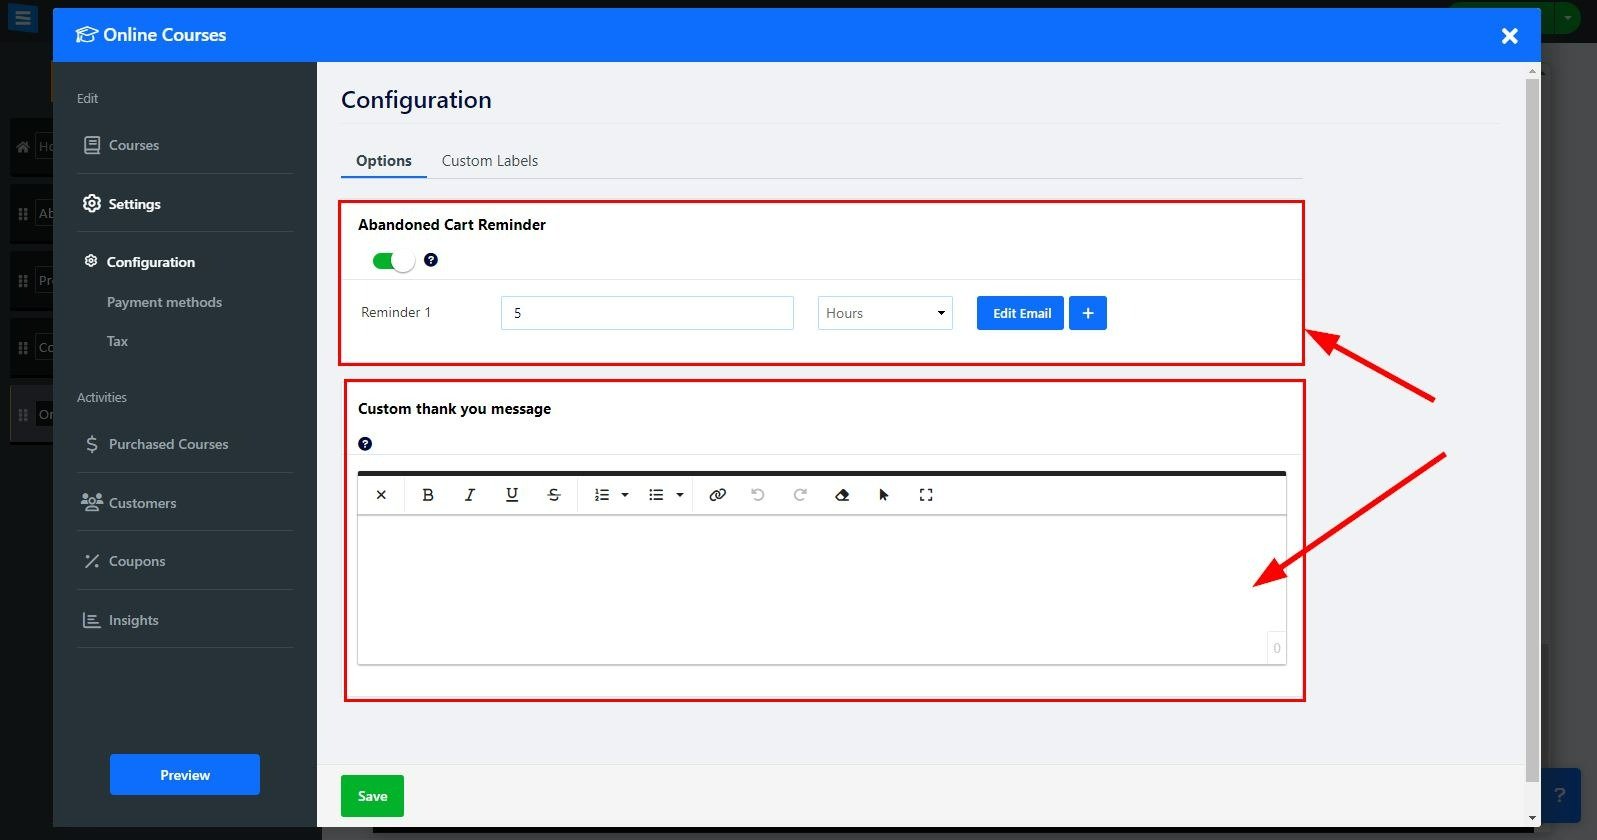
Under Options, enable the Abandoned Order Reminder to send reminder emails to visitors who abandoned their shopping cart mid-purchase. Read about the Abandoned Cart Reminder Tool. Under Custom Labels, add custom labels.
Add a subscription option to your online courses
Under the Setting tab choose configuration
Under subscription click the Change courses to subscription-based payment field and select On or Off from the drop-down menu
Click on Edit to set up your subscription rate and period:
Pricing Name - Choose a name for the rate
Pricing Interval - Choose how often your clients will be billed for the subscription, Choose between Monthly, every 3 months, every 6 months, or once a year
Pricing Tag - Add a pricing tag such as Best value or recommended
Price - add the subscription amount
Add A New Pricing- add more pricing options by clicking on Add A New Pricing
this will allow you to create different options for subscriptions
👉 Note: when using Stripe as the selected payment gateway, you will be able to offer your users recurring payments for their subscribed course. If you are not using Stripe as your payment gateway Your clients will receive renewal reminders via email at the end of each month (minus 10 days) based on their chosen subscription interval.
Inside the Purchased Courses tab, see the list of all the purchased courses, filter them by status, date, and type, and manage them. Read about Checking Your Orders.
Inside the Coupons tab, create coupons to give special deals and discounts. Read about Creating Coupons.
Inside the Insights tab, monitor and analyze order activity.