Create customized forms that fit exactly what you want. These forms will help you collect important info, hear from your website users, and connect with them.
In this guide, you will learn how to add the custom form page to your website, edit the different sections of the form, and the form settings.
In the Website Editor, click Pages.
Find the Custom Form Page in the current page list, or Add It as a New Page.
Edit the page Title and Slogan. Read more about Adding a Slogan.

Edit the Custom form page to create the form best suited for your needs,
In this section, we will learn how to add and remove content from your form, as well as the meaning of the different form options. To edit the Page, Click the Edit button and edit the following:
The following are the available form options and their description:
Text Field - This option will allow your visitors to enter a single line of text.
Email Field - Ask your users for their email. This option is validated only to accept email addresses.
Date Field - Add a calendar option to allow your users to select a specific date.
Text Area - Insert a multi-line text according to the number of lines you set.
Select - Add this option to allow your users to select from a drop-down list. After adding this Form field
Checkbox - Allow your users to select a single value, for example, confirmation of terms of use.
Checkbox Group - Users can select multiple or all items from a group of choices (keep the text the same in both columns).
Radio Group - Users can select one item from a group of choices (keep the text the same in both columns).
Number - enter only a number. You can set a minimum and a maximum number. The "step" option sets the interval between numbers in the range. E.g., two steps will set the optional selection to 2, 4, 6, and so on.
Paragraph - display certain text in the form, i.e., an explanation of the following field or the right way to fill it.
Header - Create a title for different sections in the form.
File Upload - The user can upload a file, like an image, document, etc. (size limit 10MB).
Two Columns - Add fields to your form and split them into two columns. Add the Two Columns field, then drag the desired fields into the box.
Click Add New Step to add additional steps to the form. To complete the form, the user will be required to move on to the next step. Customize each step with the fields you require.

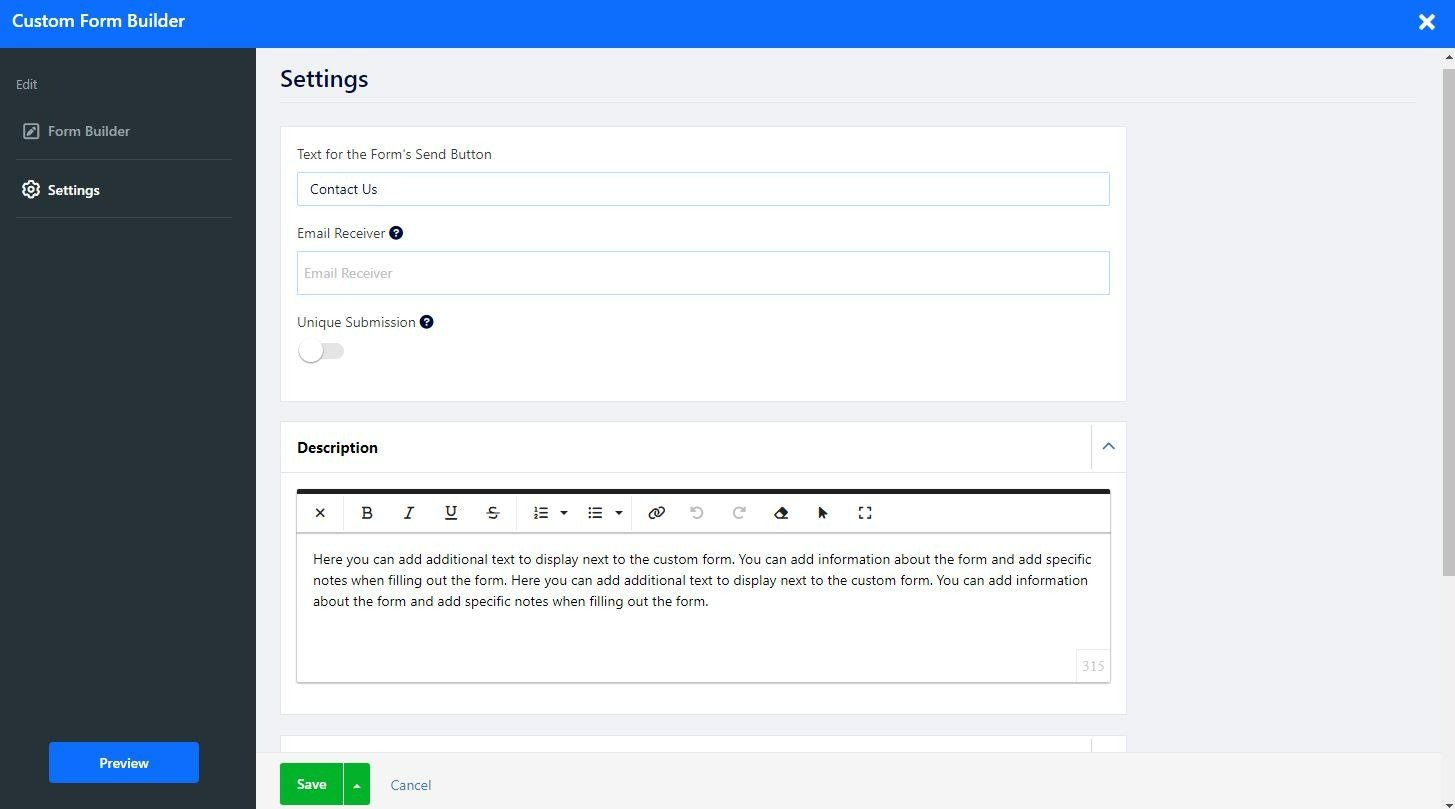
Under the Setting Tab, you can edit the form button text, set the email address to receive the form submissions, and more. Click the Settings Tab and edit the following:
Text for the form's "send" button - Set the displayed text on the send button of the form, i.e., send, submit, done, etc.
Text for the form's "next"/"previous" buttons - When enabling several steps, you can change the displayed text of the "next"/"back" buttons.
Email Receiver - Set up to five emails that will receive the form submissions. Read more about Checking Your Form Messages.
Unique Submission - Using this setting will allow the user to submit the form only once.
Add a description to give your users more information.
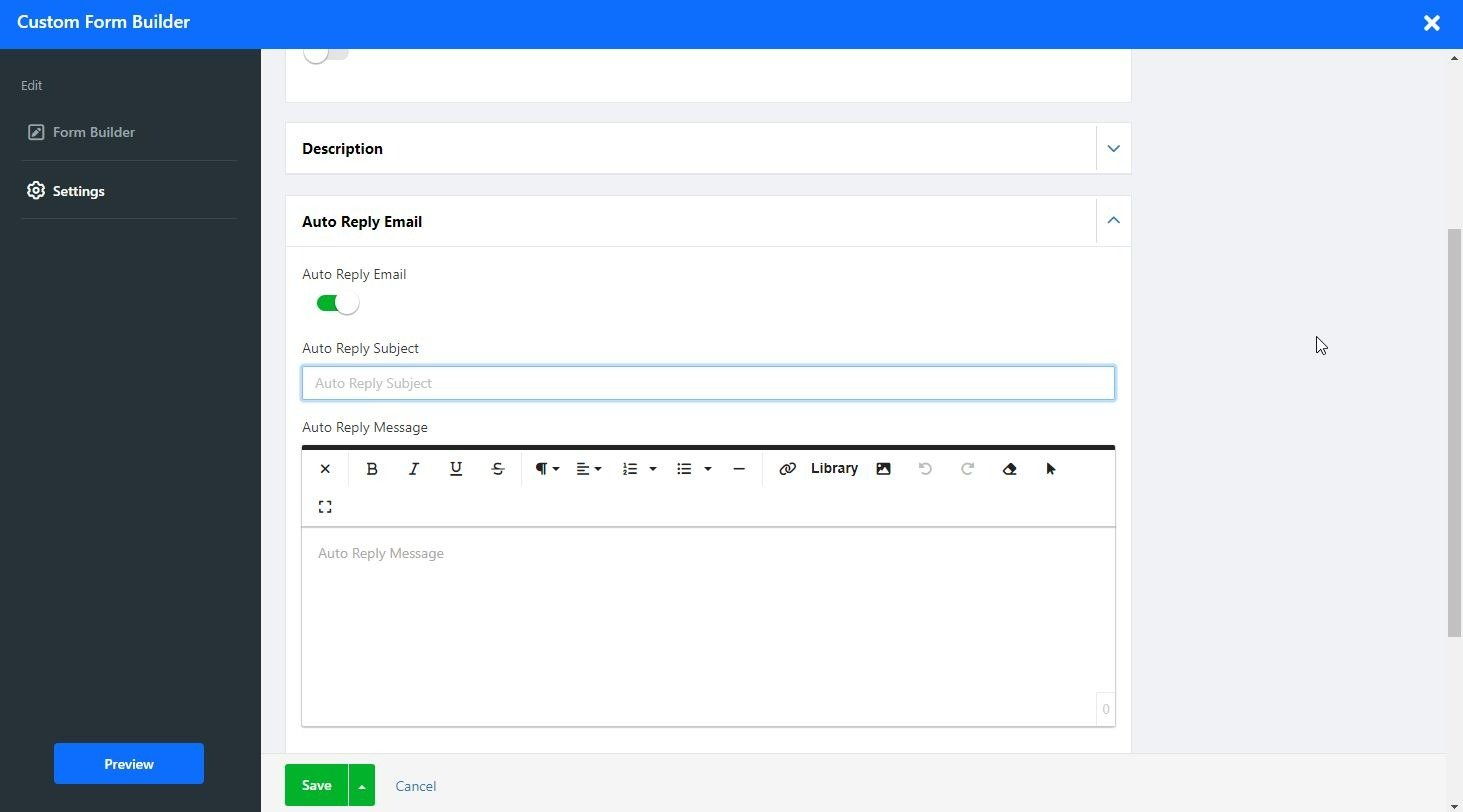
Toggle this option ON to edit the auto-email message that will be sent after submission.
Add a script or a code that would run upon message submission, for example, Google conversion or Facebook pixel.
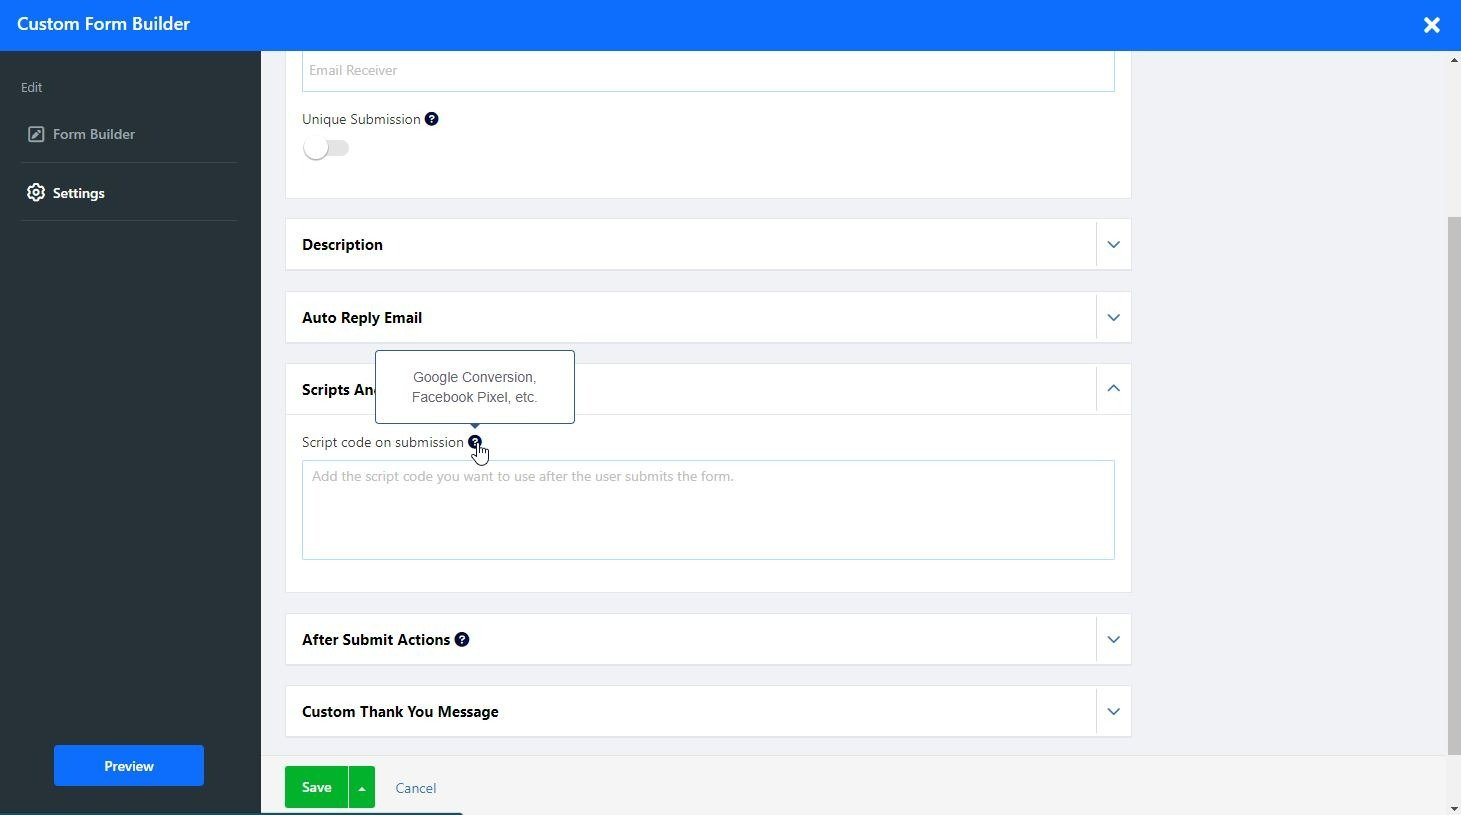
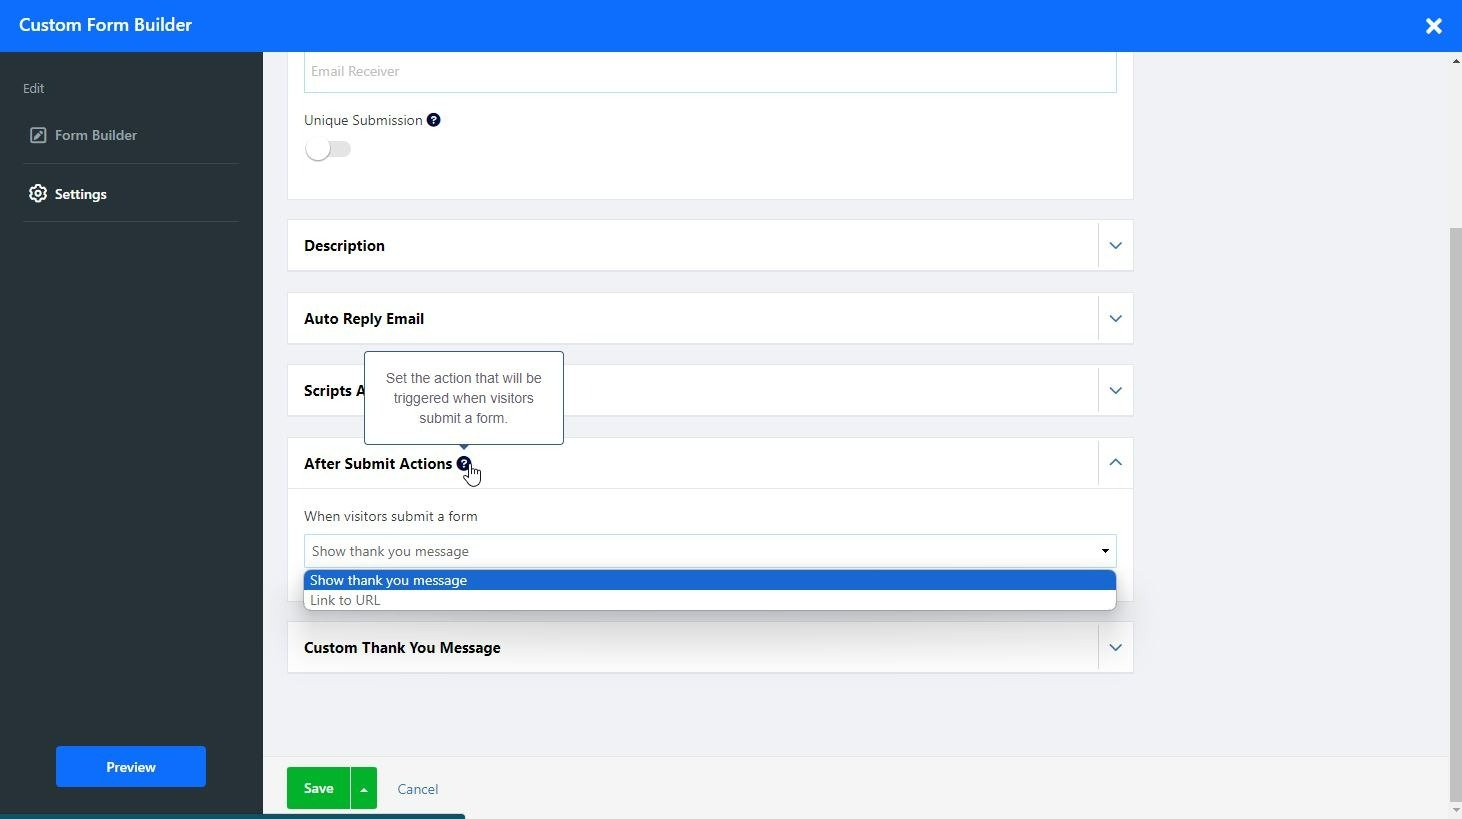
Determine the action that will be triggered when users submit the form, such as showing a "Thank You" message or a link to a URL.
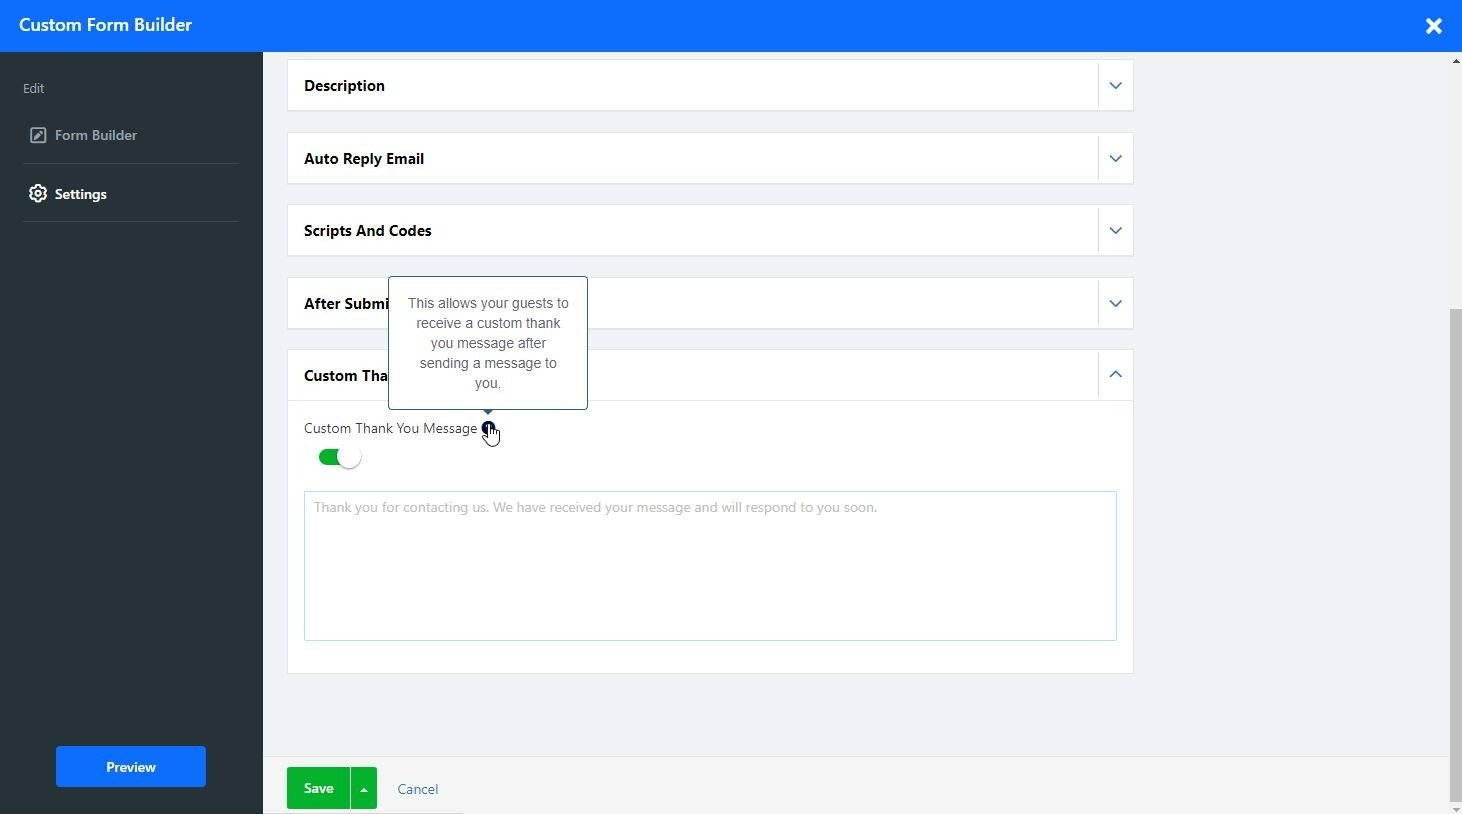
Toggle this option ON to create a custom message to display to your users after submission.
Click the Layouts button to change the page layout.
Read more about the Page Layout.