Create an E-commerce store to sell products online and boost your business sales.
In the Website Editor, click Pages.
Find the E-commerce (Store) page or add it as a new page.
If you are running an online store, in most cases, this is the core of your website.
We have adjusted to this by making the flow of managing and navigating the store easier for you.
Adding an online store page on your website will add a new "Store" menu option to the editor menu. From this menu option, you can now manage all of your store settings, including catalog, products, tax, shipping, coupons, and more.
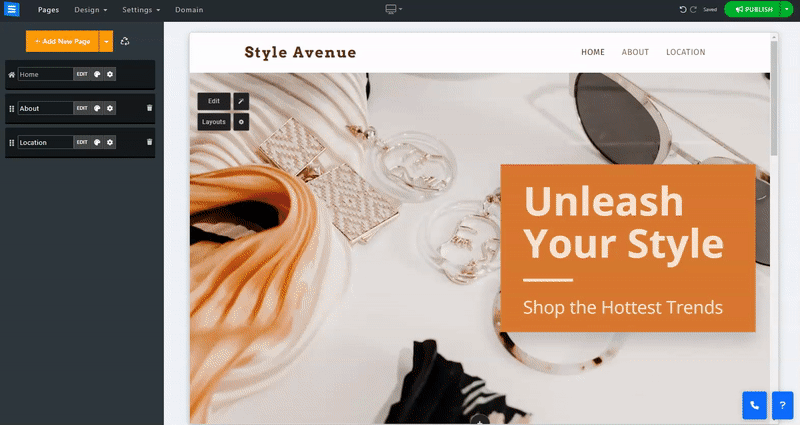
The Store "page" is now dedicated solely to managing the display of your store on your website, such as displaying Categories, New Arrivals, and more.
Before you are some steps to get you started:
Click the Edit Button to edit the E-commerce Hompage. Here, you will edit the visibility of your E-commerce store page. Read more about the E-commerce Hompage
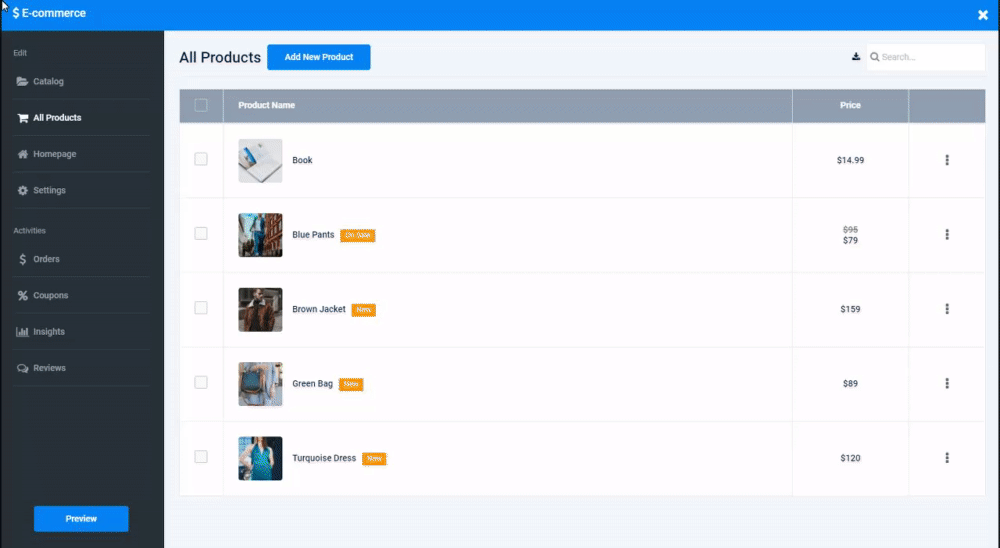
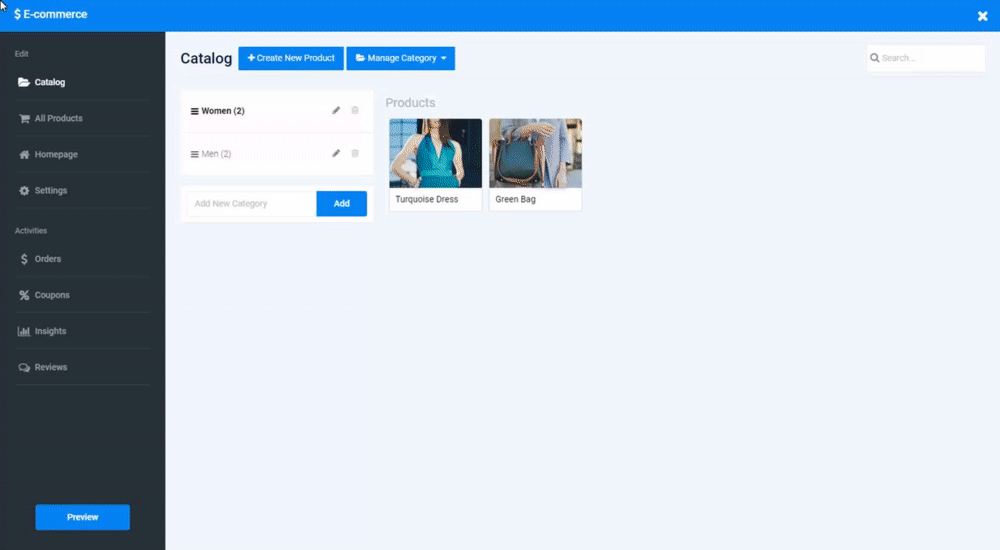
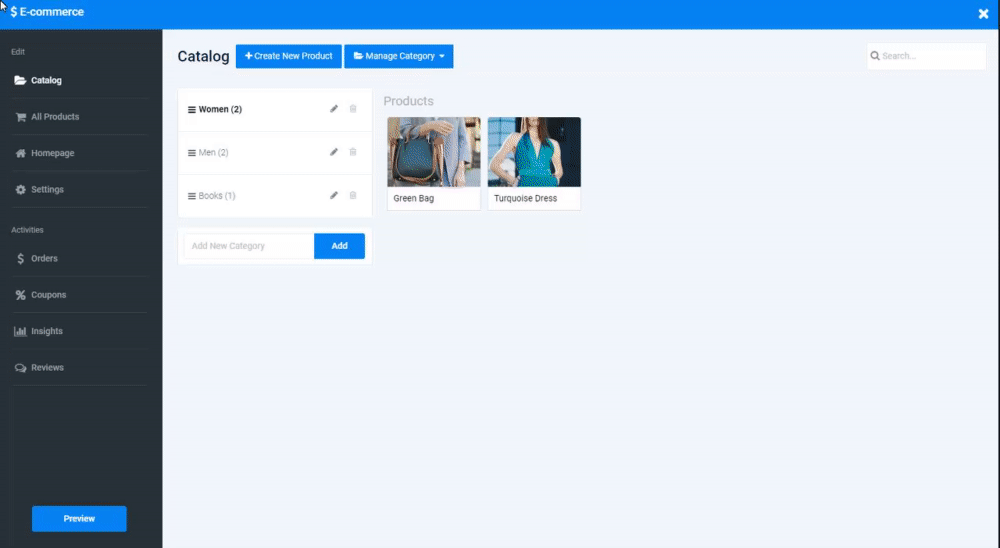
Click the Store button To edit the E-commerce Store. Here, you will add products and categories and address different settings of your E-commerce store.
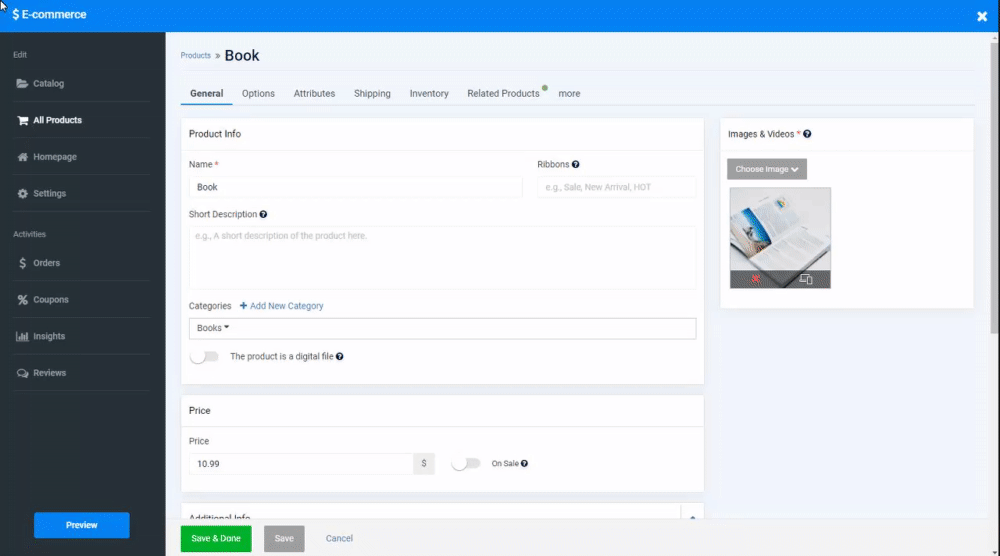
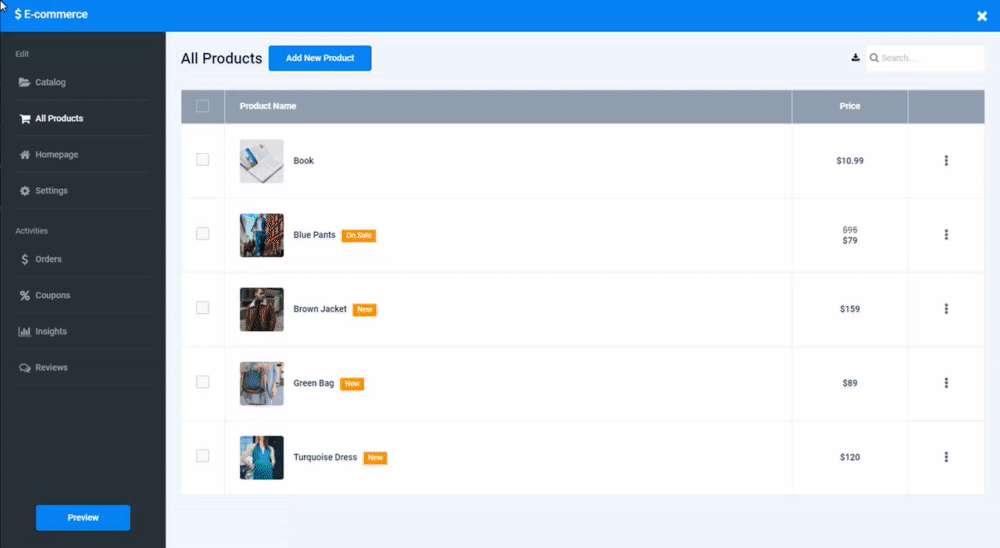
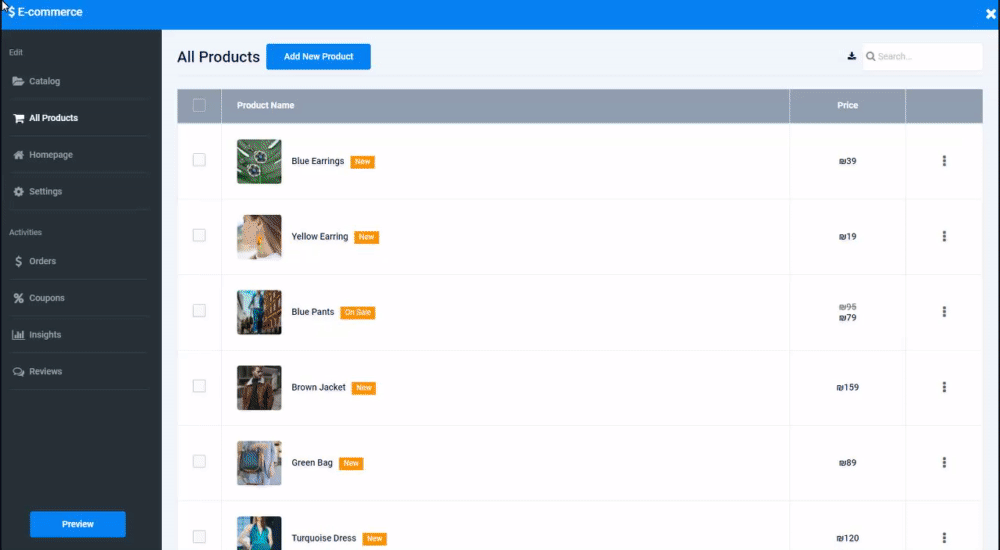
Upload as many products or digital files as you like, add the product name and description, and set the price, and allow your users to review your products. Read about Adding Products.
Let your customers know whether your product is in or out of stock and show different variants of the product (like color and size). Read about managing Variants and Inventory.
Categorize your products to make sure that your store items are managed easily. Read about managing E-commerce Categories and Subcategories.
Set your accepted currencies and payment methods, whether offline, like over the phone Payment and bank transfer, or online, like Paypal and credit card. Read about setting Currency and Payment Methods.

Set the shipping method, the regions you ship to, and the tax on the order. Read about setting up Shipping and Tax.
Add different fields to your Order Form, set Custom Labels, Measurements, and a Return Policy, enable Product Reviews, Wish List, Abandoned Cart Reminders, and many more options. Read about customizing your E-commerce Order Form and other Configurations.
Add discount coupons for your customers to apply to specific products, categories, or minimum order subtotal. Read about creating Coupons.

Select which products and categories you want to show on your E-commerce Homepage. Read about editing your E-commerce Homepage Sections.

Design how the products and categories will be displayed.
Read about customizing your E-commerce Design.